In this project, VFX had to take a massive part since I wanted to convey a lot of drug intoxication and paranoia scenes through these visual effects. I have been doing these visual effects since four days now and I am finally done. The process was not just applying those effects but also trying it out on almost every scene and shot and figuring out which one I should use these effects on. I am attaching below the ones I used for my vfx:
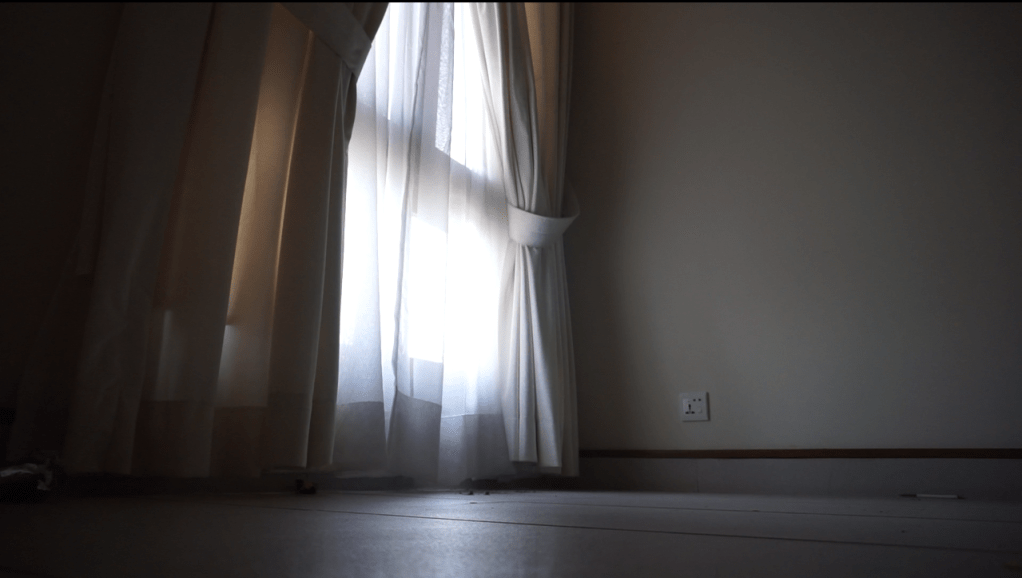
Shot without the actor or the green screen bed
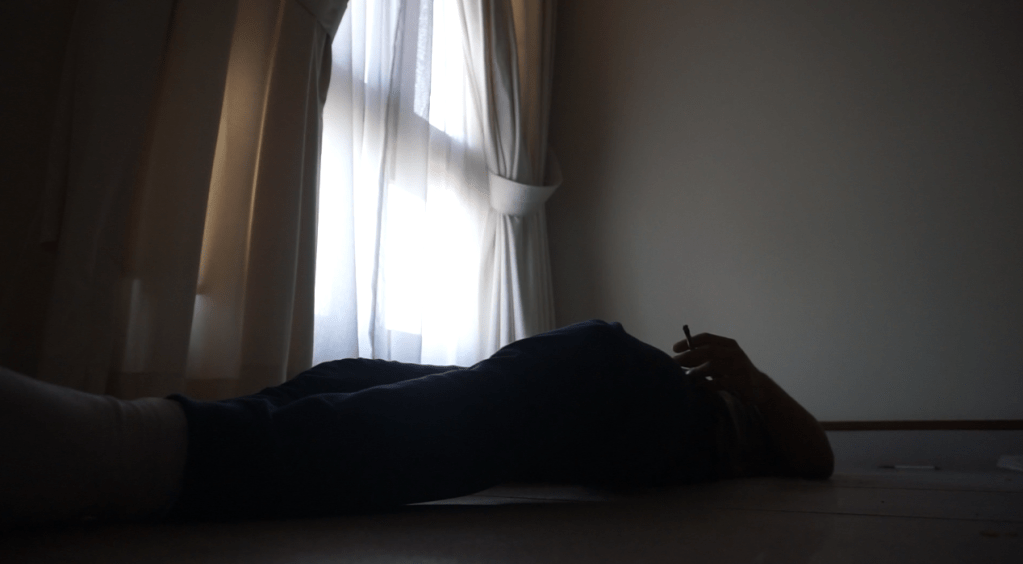
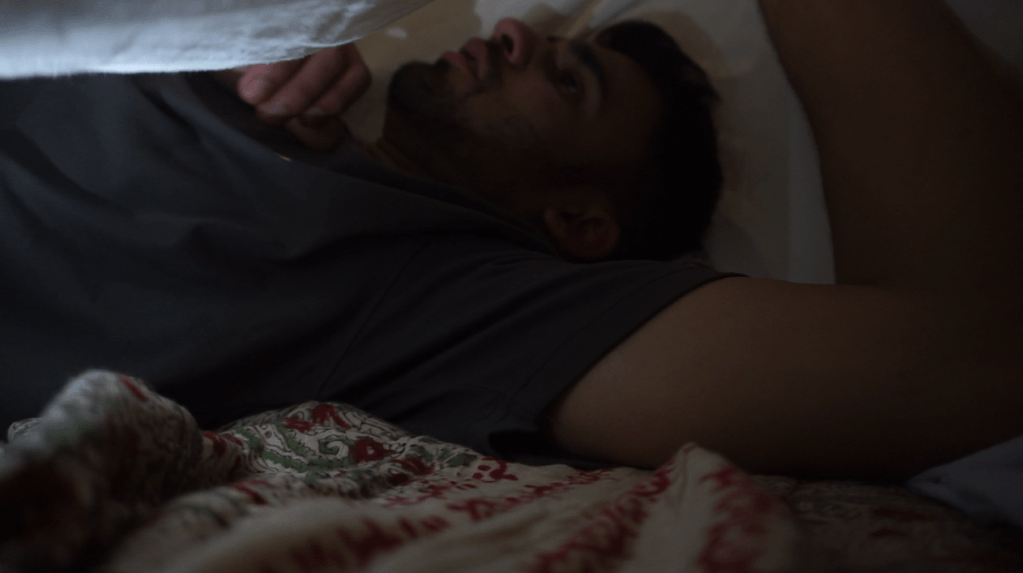
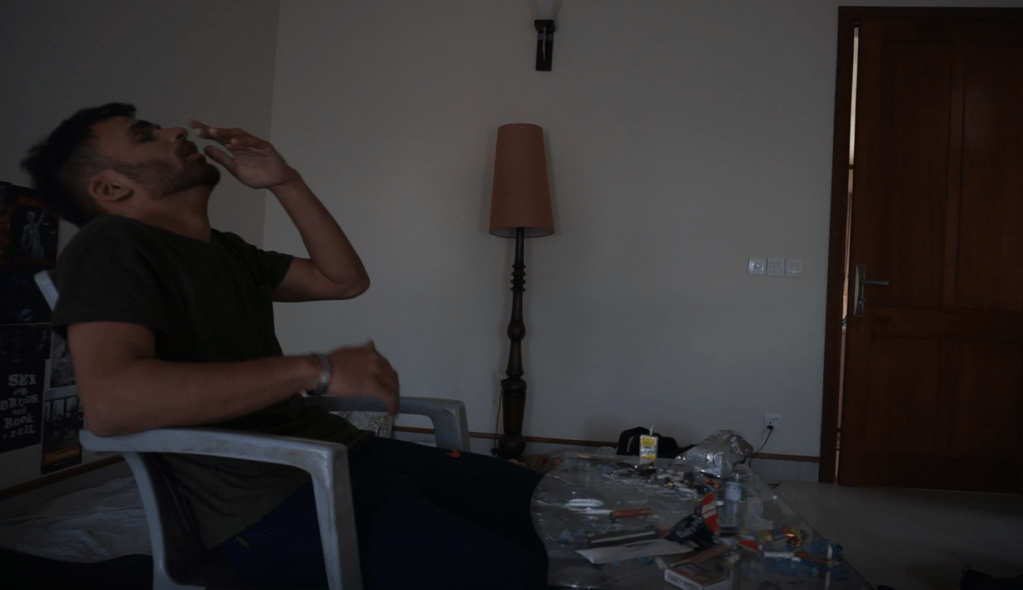
Shot with the actor lying down, smoking
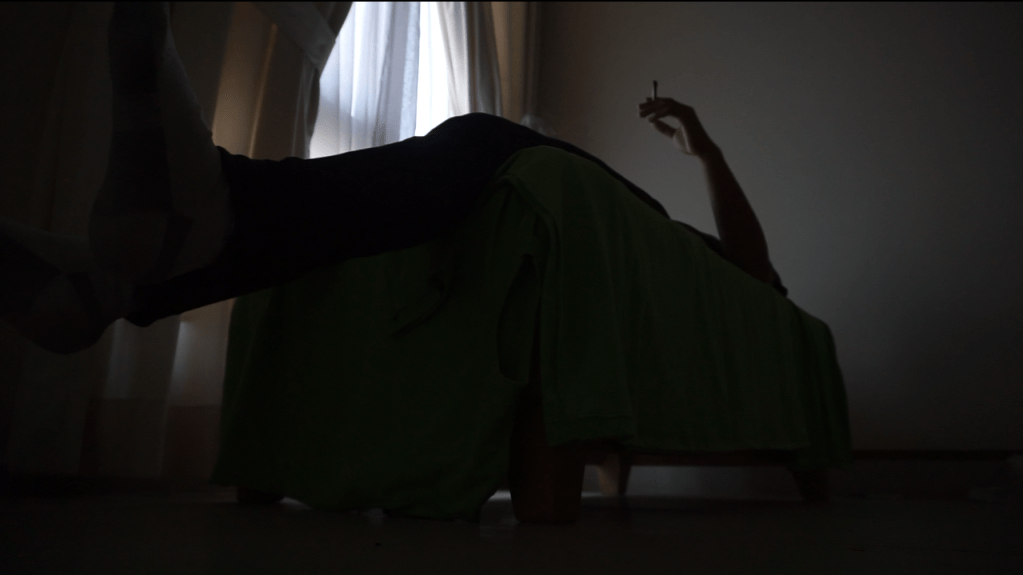
Shot with the green screen.
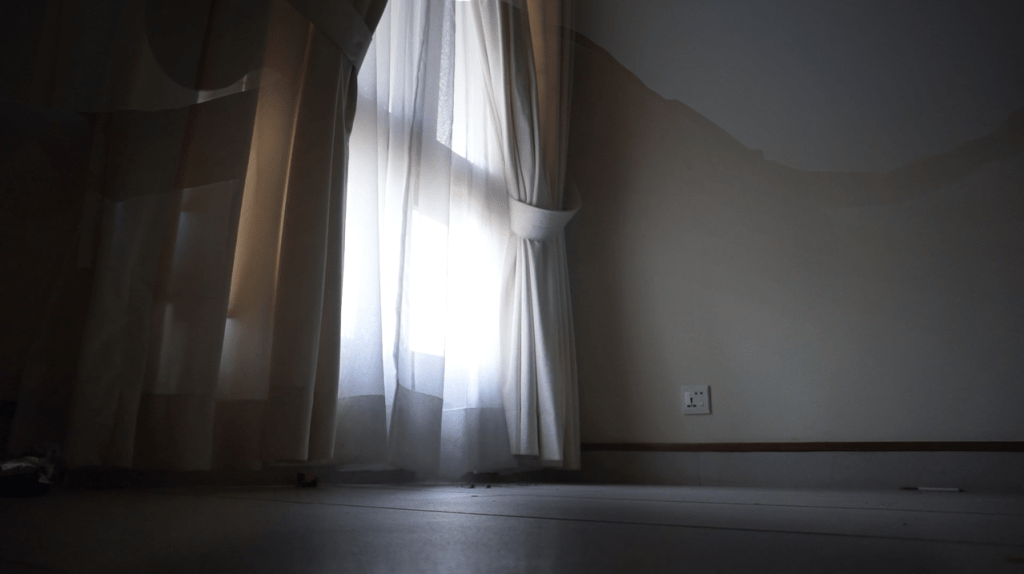
After applying the VFX.
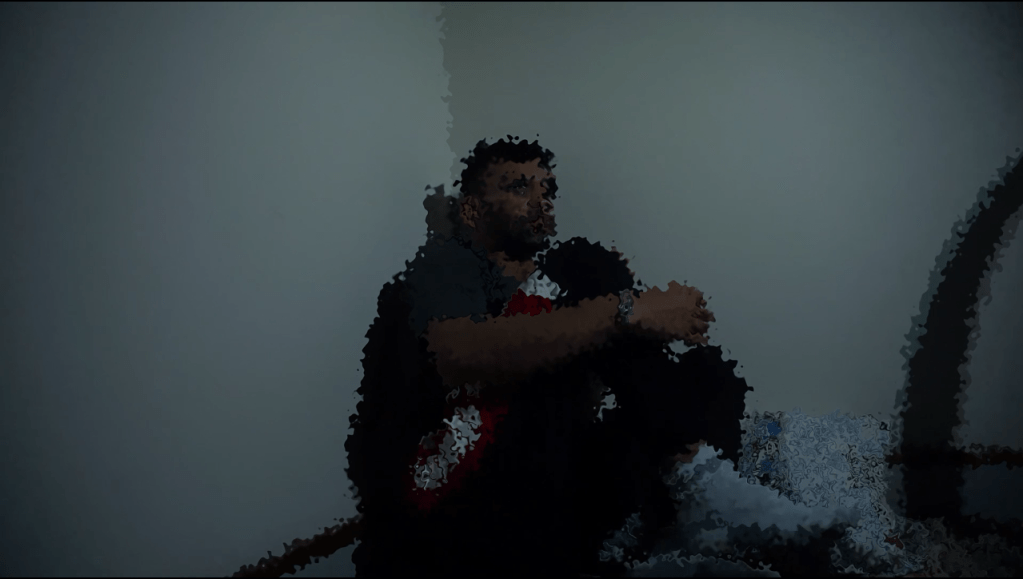
This is the one of the two scenes which was planned to have VFX, and the planning is evident as I took three different shots to transform it into one. Basically the way this scene goes is that my character is shown to be smoking on the floor and then he starts floating. It is an inaccurate representation of the intoxication of marijuana but my video only aims to replicate the effects, not portray them 100% accurately. What I did to create this is first put the green screen layer on top of the other two layers and key out the green colour of the bed, then fade that layer and make it less opaque as it was starting to look fake because of imperfect lighting, which really was not under my control.
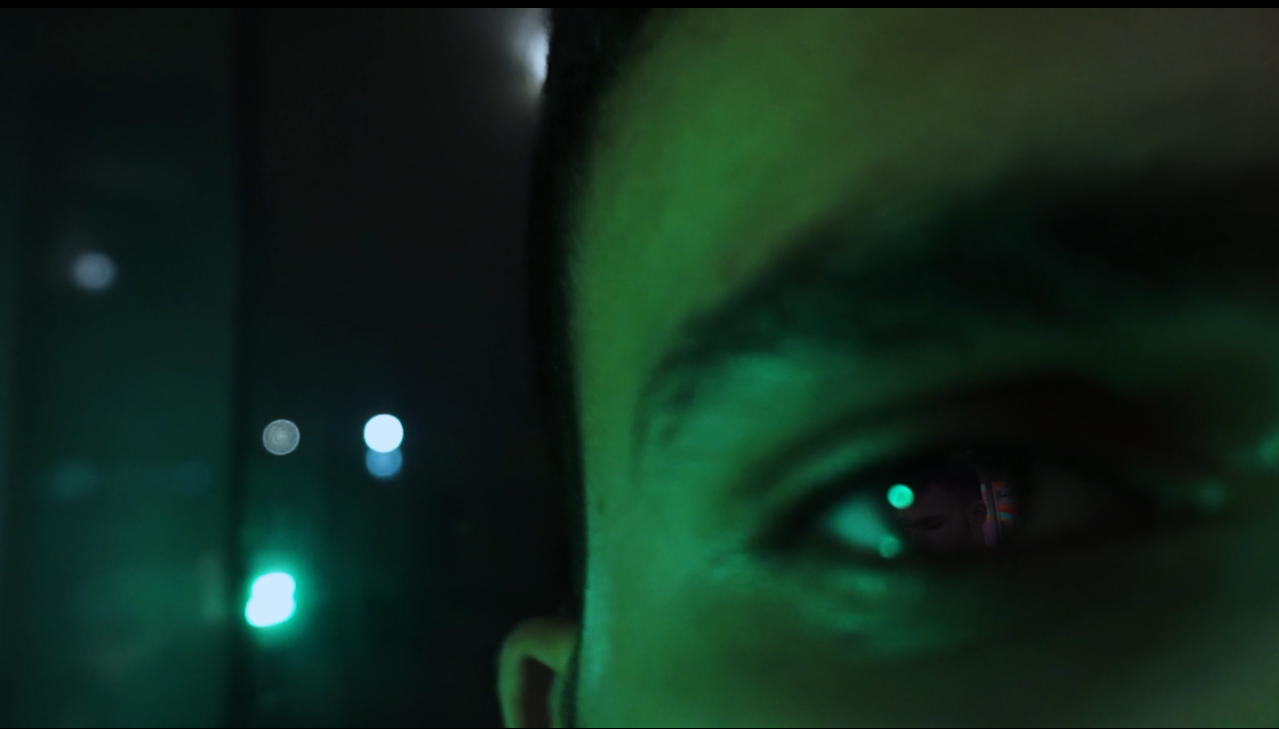
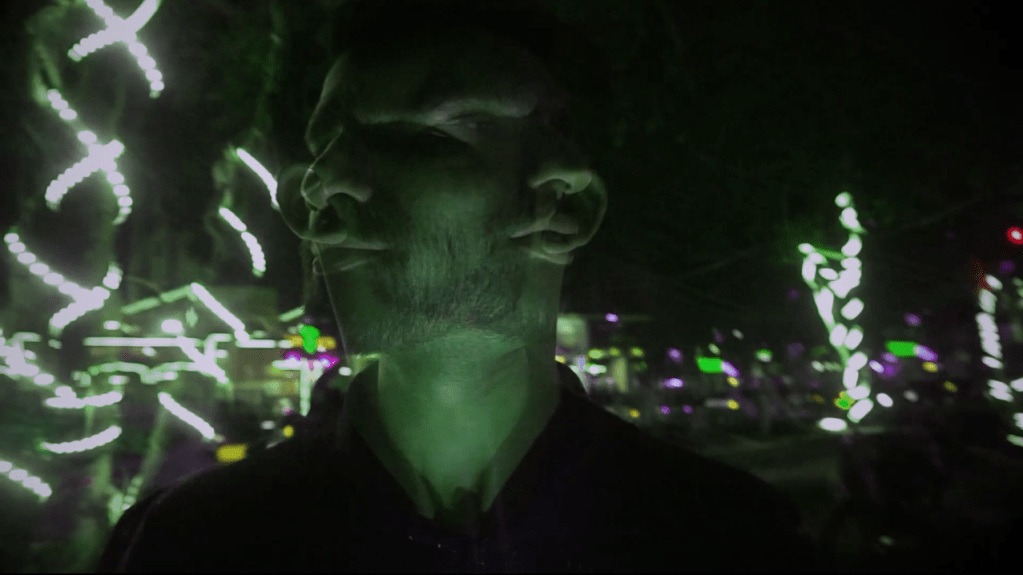
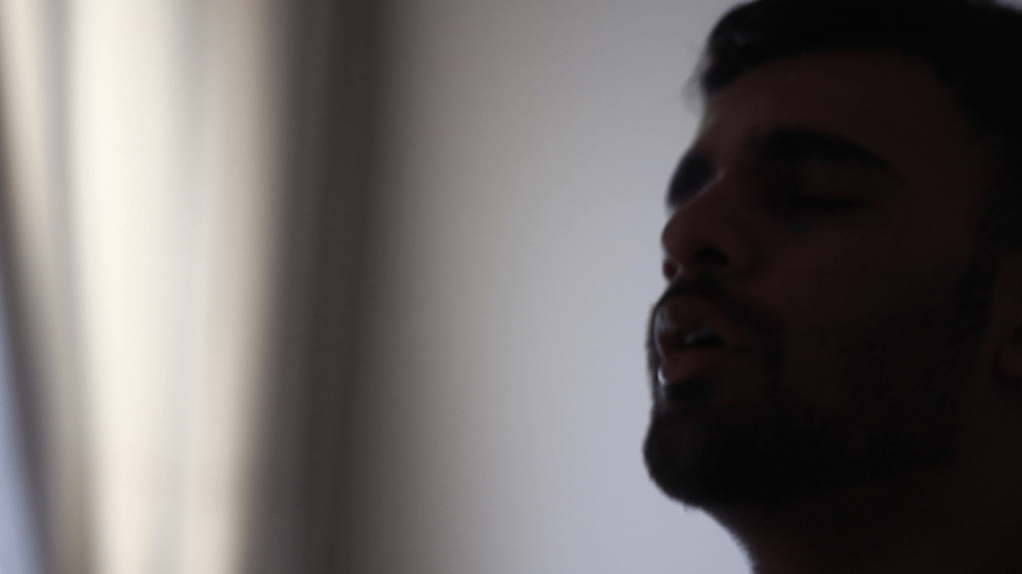
Eye of the protagonist as he takes a psychedelic drug.
Camera zooms into the eye. This was done in post production.
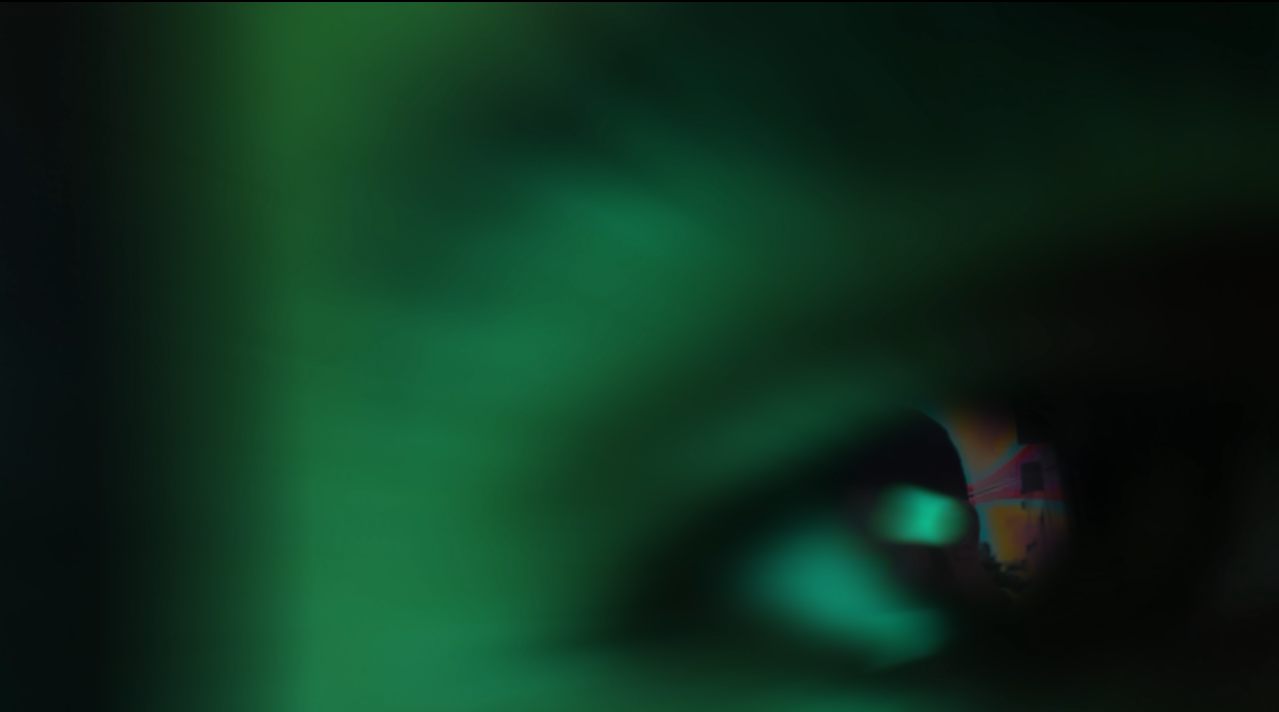
This was the second VFX scene that was planned. My goal here was to insert this scene in one of the beginning few scenes to captivate the audience as it is such a fast-paced intense scene that it would not bore the audience. I applied the next scene in which he is hallucinating after taking the drug, on the eye as soon as he takes it, then I added a motion blur zoom effect into the eye to make it look like the zoom was done during shoot.
before
after
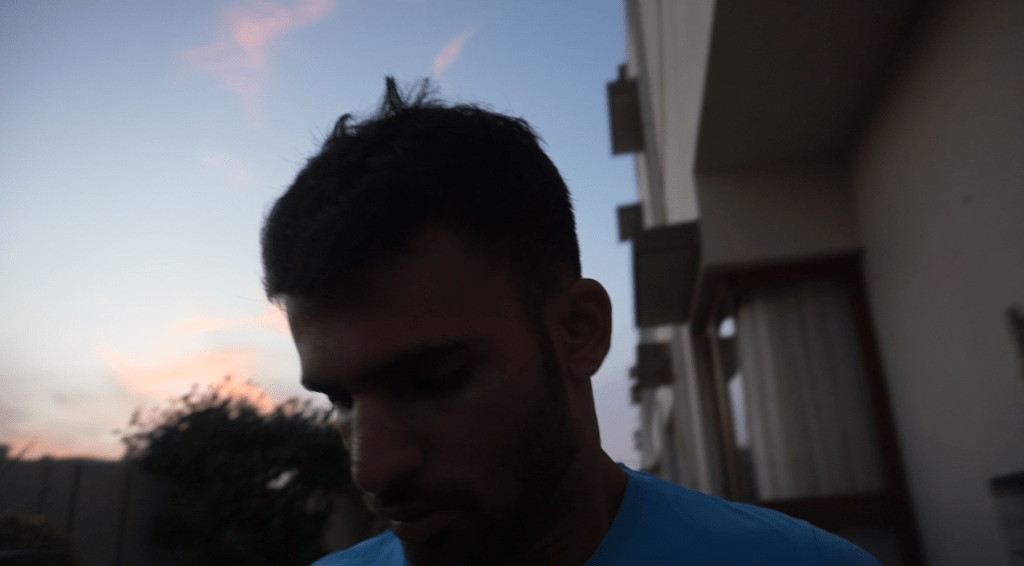
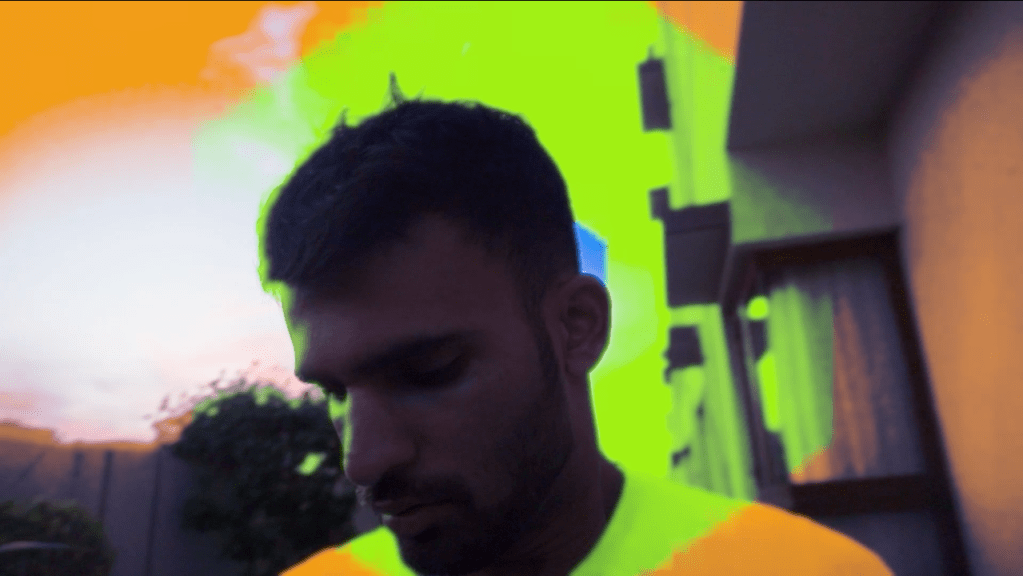
This was the scene after the eye zoom transition is applied. In this scene, the sky is in the background and it is all blue so I keyed out all the blue colour and added a colour flickering layer on top of it. This is one frame but in the actual clip, the colours change twice a second giving the effect of a psychedelic hallucination.
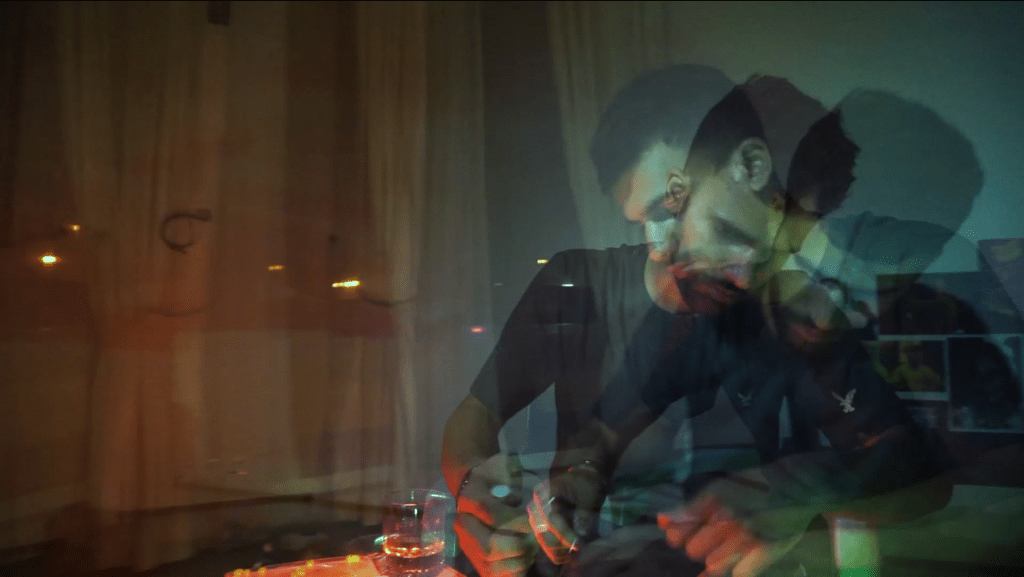
These are the scenes I applied the echo effect on, in post production. These were not planned but I am still satisfied with how they look. The echo effect creates a sense of intoxication, disorientation hence I used it.
Protagonist’s POV. He looks at the chair infront of him.
Protagonist himself, paranoid.
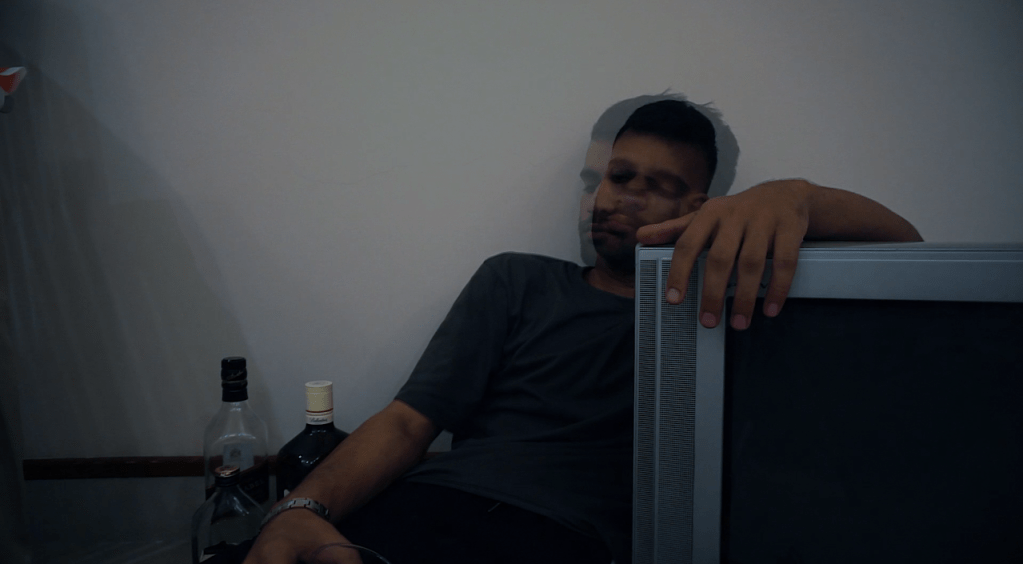
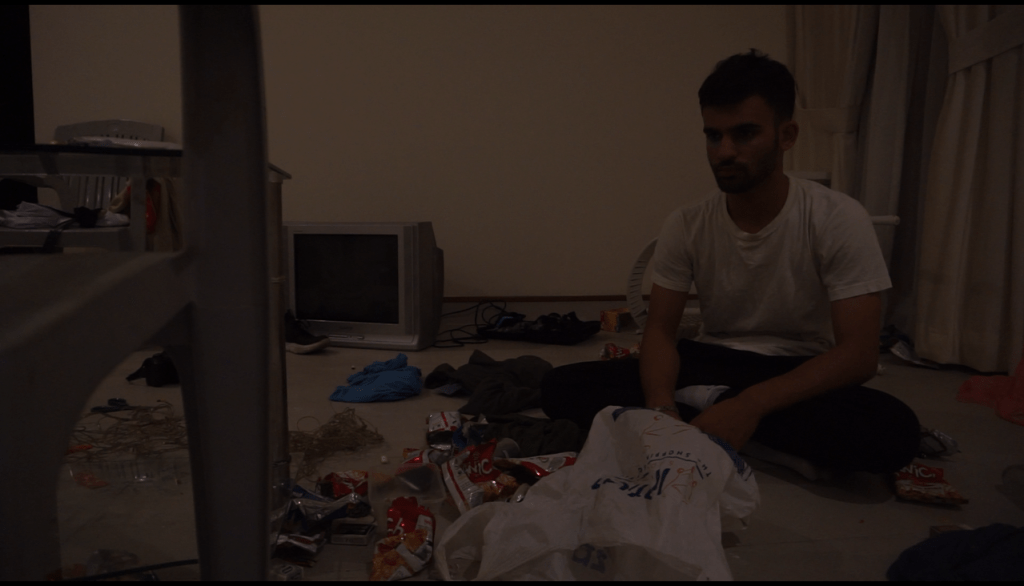
This is when the protagonist goes through drug withdrawal symptoms. This was inspired by the film “Requiem for a dream” and its scene when the woman is experiencing withdrawal and her vision starts distorting. This is what im trying to show too. The character is looking around and the lights around him flicker(which was also added in post by increasing and decreasing brightness every 5 frames), and his vision starts getting distorted. The second one is trying to imply that the withdrawal effects have consumed him completely, hence he appears to start getting more and more distorted too. This is to make the audience feel what the character is feeling.
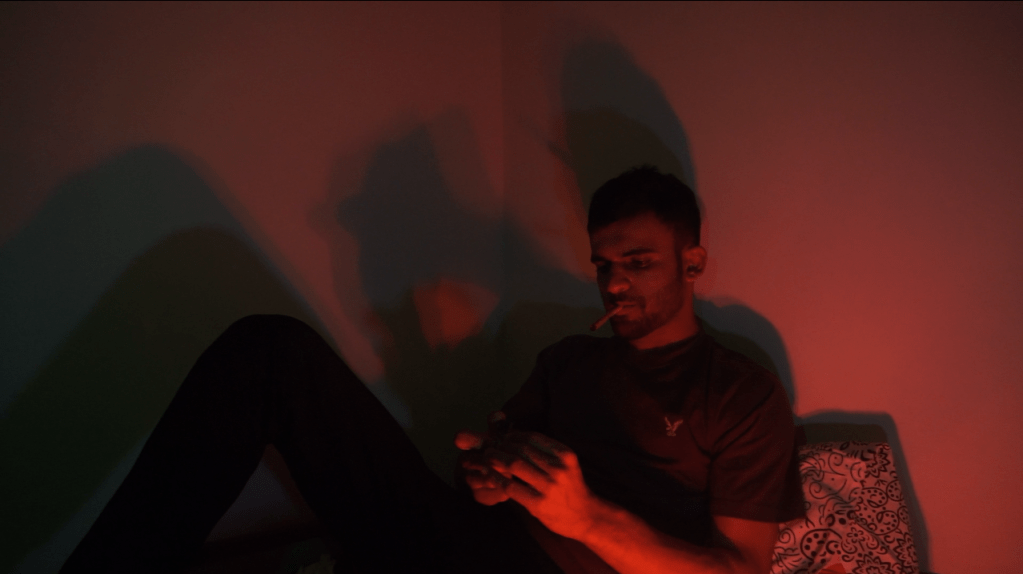
I spent the entire of yesterday and today to colour correct/grade the music video. Unlike last year, I did not use LUTs(Look up tables) for colour grading. I mostly did only colour correction and played with the temperature of the clip to have my final look ready. I tried to keep a consistent blue/cool temperature theme going on in the entire music video, except some parts where I felt it looked better with a different colour scheme or the scenes were shot with the help of the coloured light bulbs, which were red and green in colour. I am attaching below some examples of the blue themed look and the others:
BEFORE
AFTER
This is the result of the cooler temperature look after colour grading.
BEFORE
AFTER
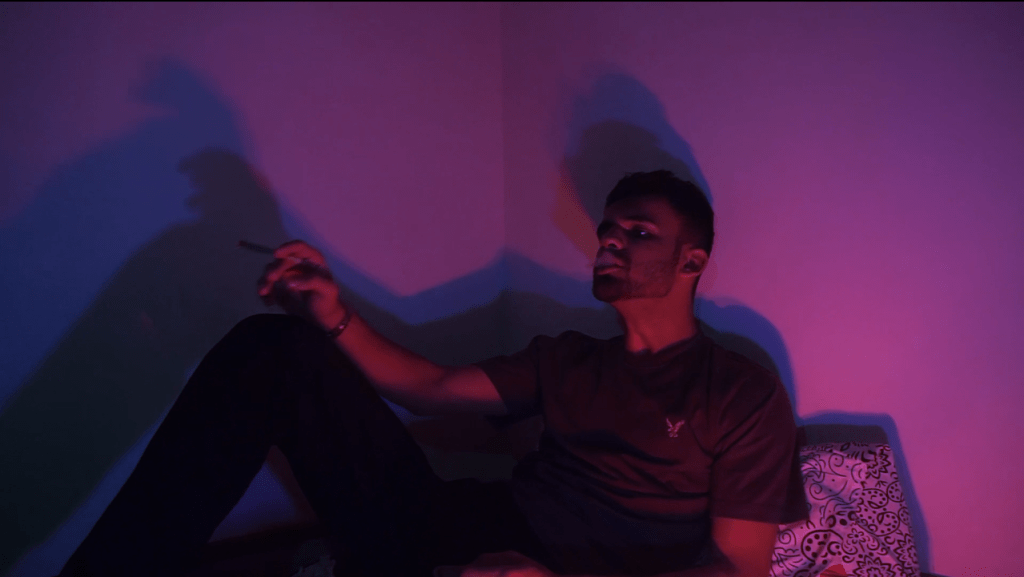
In this particular scene, even tho I shot this scene with the red and green lights, I felt I could play around with the colours and check if the changed colours looked better. In this scene, they did. I applied the Hue, Saturation, Luminosity(HLS) Colour effect on the clip and switched them until I got this look.
BEFORE
AFTER
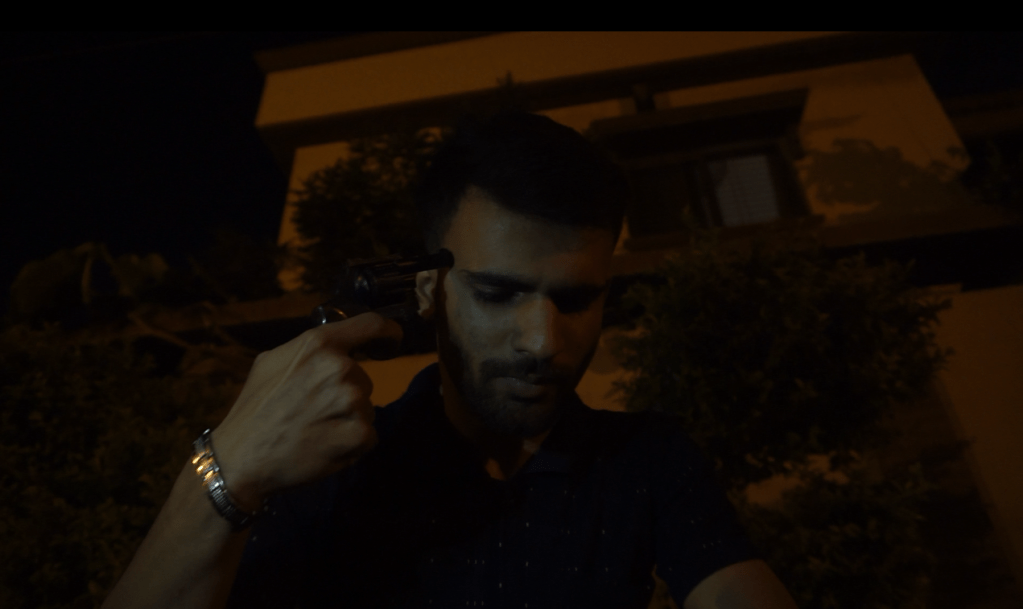
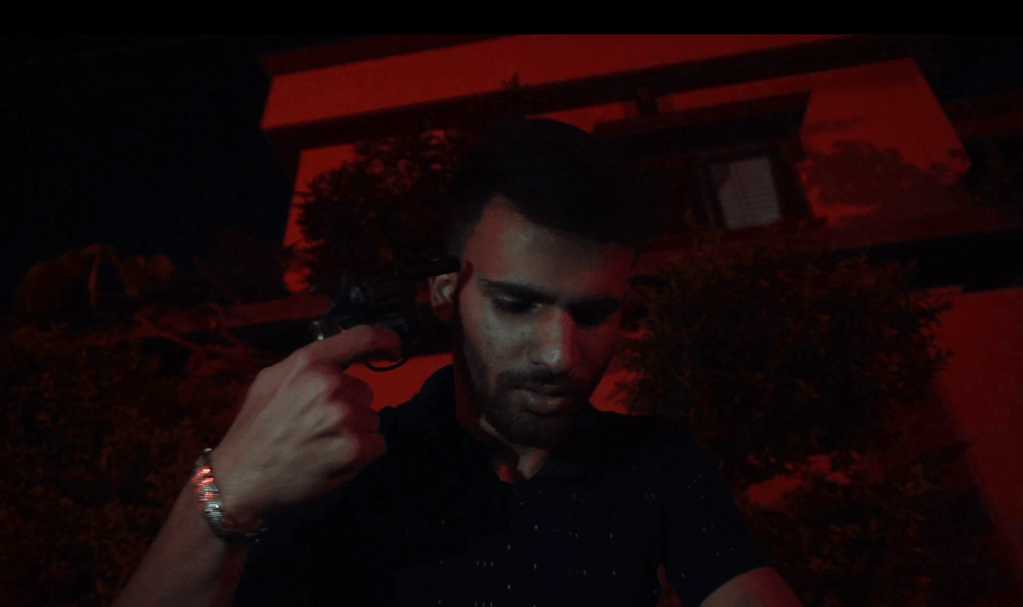
In this scene, I did not make the colour temperature cooler. Instead, I changed the hue and saturation to a red-tone since this scene is about suicide and red colour represents blood, death etc. I think this colour theme fit perfectly with the scene itself.
Three days ago, I started post production of my Media Studies Foundation Portfolio Opening Sequence. Editing is my favourite part of the entire filmmaking process so I was very excited to begin and see the final result as soon as possible. The software I usually edit on is Adobe Premiere Pro CC 2018, so I used it for this project too. What I like to do first is re-arrange my entire footage into the camera names and then days, for e.g I went with this style of rearranging.
For all the shots I did more than three takes with, I picked a first, second, and third choice take and labelled them with different colours so it would be easier to select them in the software without having to watch them over and over again. I made three choices because I had an idea I might end up using one part of the scene from one take and the other part of the scene from another take, and I did end up doing that. One example is attached below.
From Take 1
From Take 4
I used both these takes in different parts of the video because I only liked certain parts of each clip and nothing after that so I needed to use multiple takes to complete the same scene. I had to insert other shots in between so it does not look like a jump cut. I could do that easily as my entire video is planned to be a of cross-cutting scenes.
WHAT WORKED AND DIDN’T WORK:
I think the car scenes did not work at all. I don’t like the way they feel to me, even though the audience might feel differently, but I have decided that if I don’t feel it, I would not proceed with it. The acting seems really forced and I tried to incorporate it into the final cut and salvage the footage somehow but it does not go on the same pace that the song and rest of the footage. I feel it is a mistake on my part that I did not realize this on shoot but its better to act now than later. It could have been a lot worse. Thankfully I realize it now and won’t include it in the final cut.
CUTTING THE VIDEO TOGETHER
After I individually tested out the footage and cleared up the shots and scenes I did not need, I put in the song on the timeline and went shot by shot with each lyric and each beat and decided which shot would look and feel good at what point in the video. In two portions of the song, there are fast drum fills/beats, so I cut 3 frames out of some of the shots that looked good to me and placed them for each drum beat, so it looks in sync with the beats. During other portions, I listened to the lyrics carefully and tried to match the lyrics to the scene, or the speed of the portion to the speed of the scene itself. I am finally done with the cutting of the video and I will now proceed to the more difficult parts of this post production process.
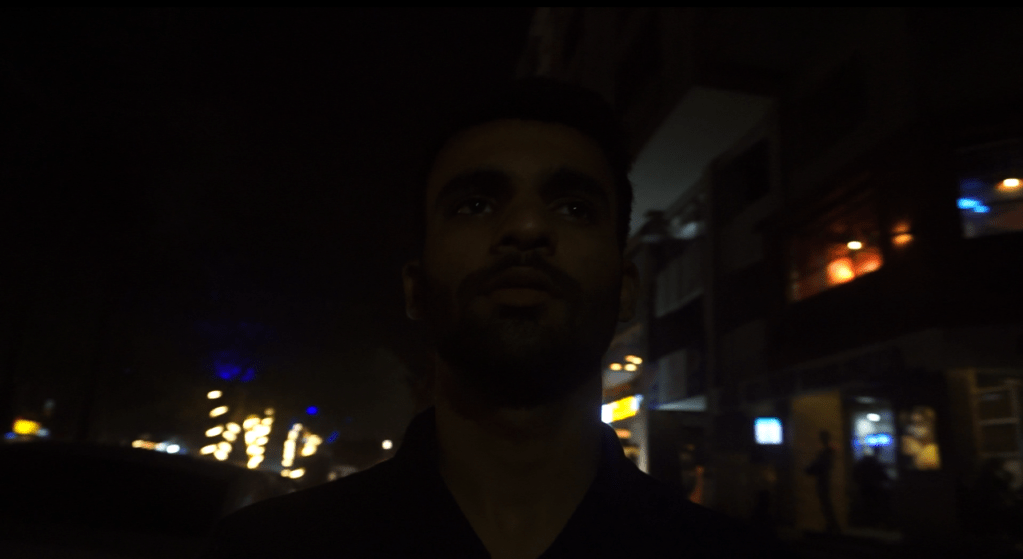
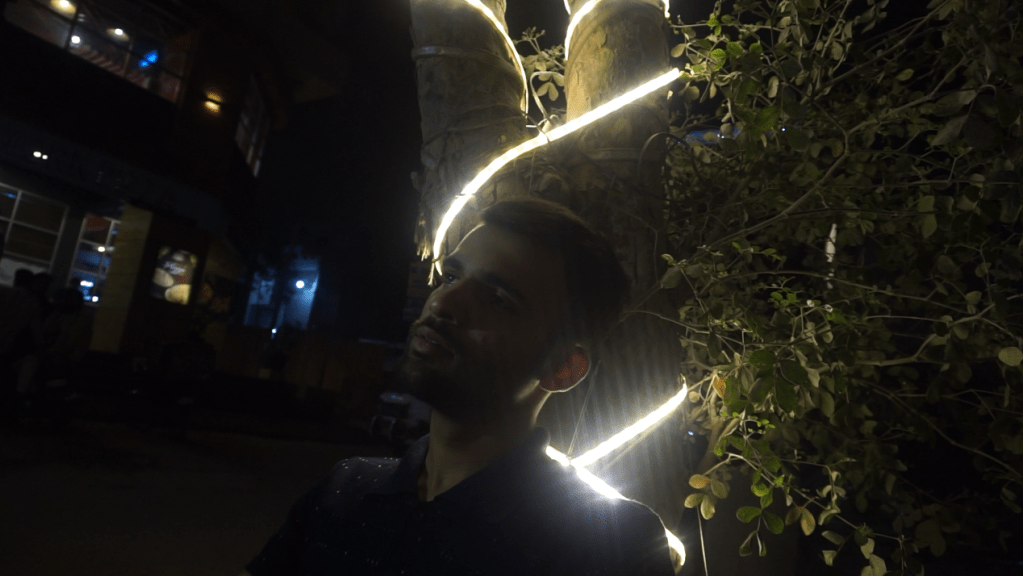
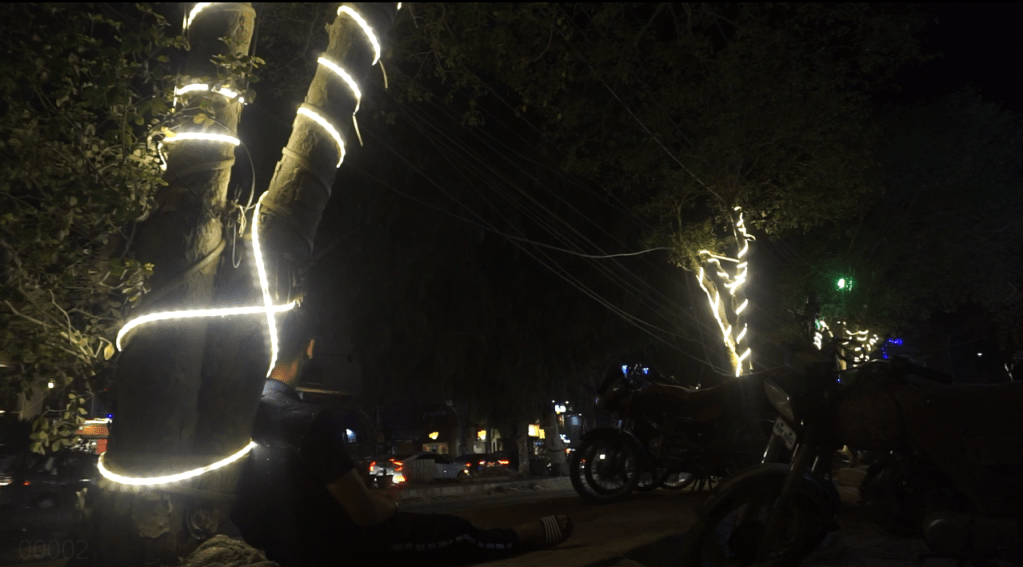
The second day of the shoot was rather simple and less time consuming. The shoot involved all the outdoor night shots e.g sitting on the footpaths, walking through streets when he is intoxicated and shots from inside the car in which he is high and later starts facing side effects due to the drugs and ends up crashing his car.
SETUP
The shoot started at around 8pm, in the North Nazimabad block H area of Karachi. Tarawish(my actor) could not come to or near Ashar’s place again since he lives far away, so I had to go to him. I asked him to wear one of his plain coloured tee shirts since that is the costume-style I am going with. I did his makeup in the car again, the same way we did on the first day of shoot.
CAMERA SETTINGS
On the second day of shoot, I only used one camera, which was my own, since I did not want to risk my friends’ cameras out on the streets in a city like Karachi. This shoot was also more like a run-and-gun shoot so I had to be fast. I could not be switching cameras back and forth. The camera settings were pretty much the same. 1/50th shutter speed, 16mm and 24fps. The ISO changed heavily due to the dark, due to which I will have to deal with the noisy footage later on in edit.
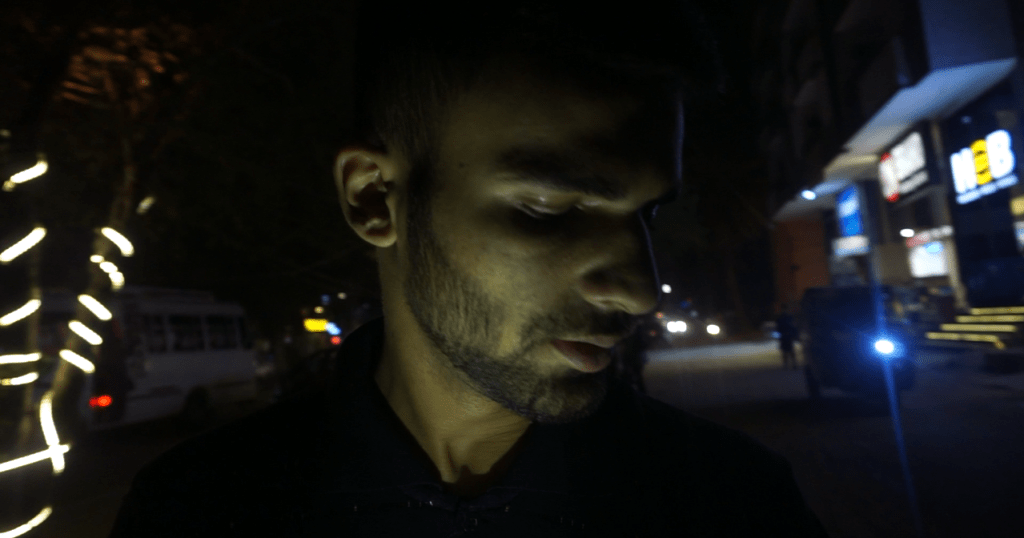
LIGHTING
I had no other lights except my phone’s flashlight, which was easy to manage because the second day of shoot only had snorricam and still shots which involved a tripod so I could easily hold a flashlight in my hand.
Without flashlight.
With flashlight
I know the flashlight looks way too harsh on his face but I would prefer to have a slightly overexposed clip than a dull clip which would need to be brightened up in post and the clip would become noisier.
camera movement and coverage
I did not have to worry about coverage here, except in one scene where he is sitting on a footpath and I decided to take a shot of him from the front and back. I had to take individual takes from the same camera for it. On the rest of the scenes, there was no extra angles so coverage was not an issue. Camera movement was pretty much only static and snorricam rig shots.
From the front
From the back
BEHIND THE SCENES:
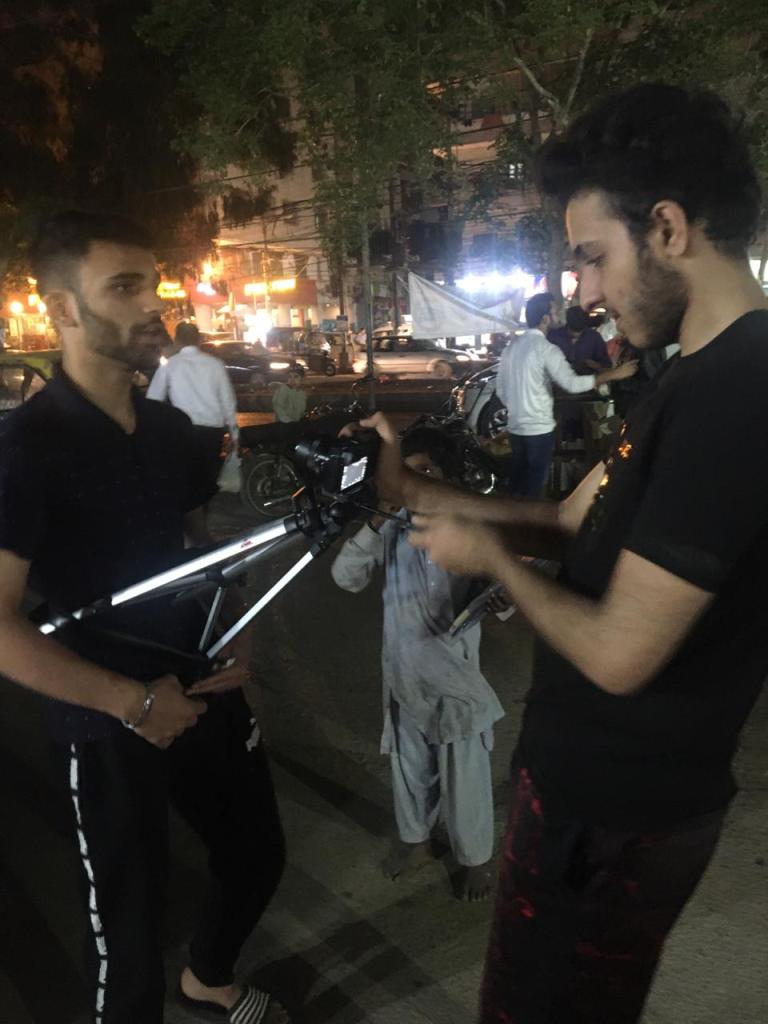
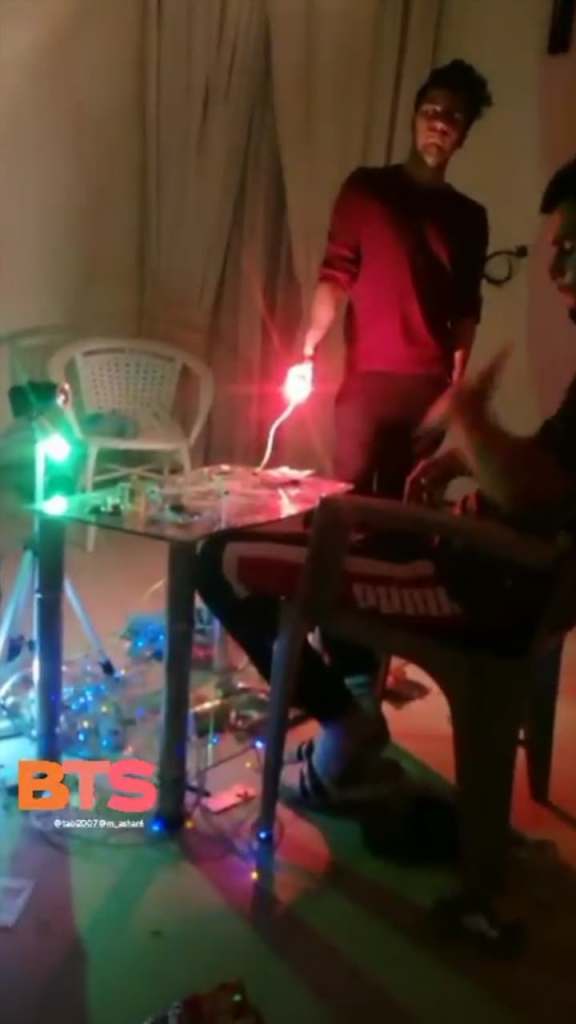
I do not have a lot of behind the scenes images from the shoot except one picture that we asked a bystander to click from my phone while I was setting up the DIY snorricam rig on my actor.
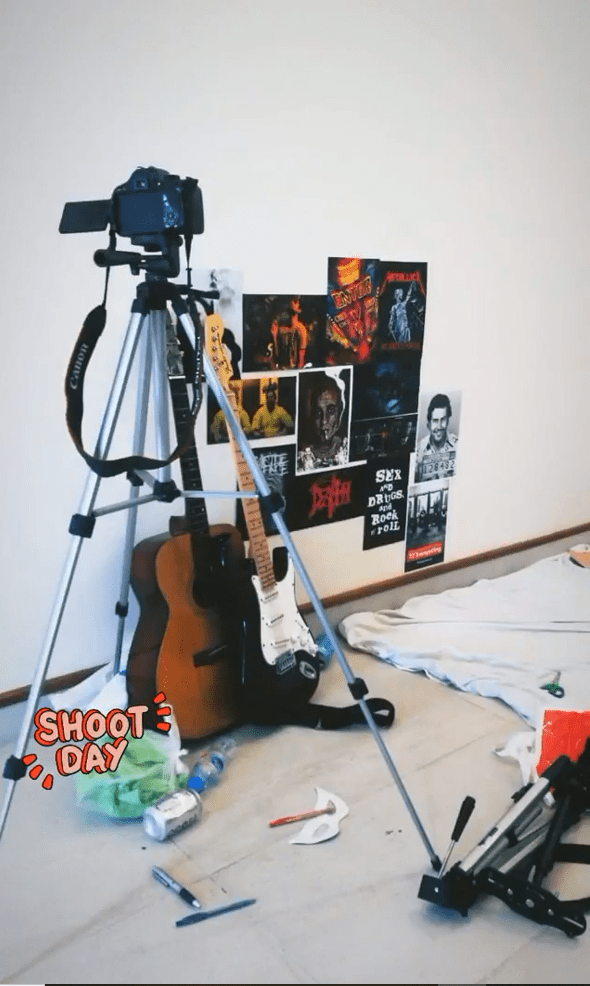
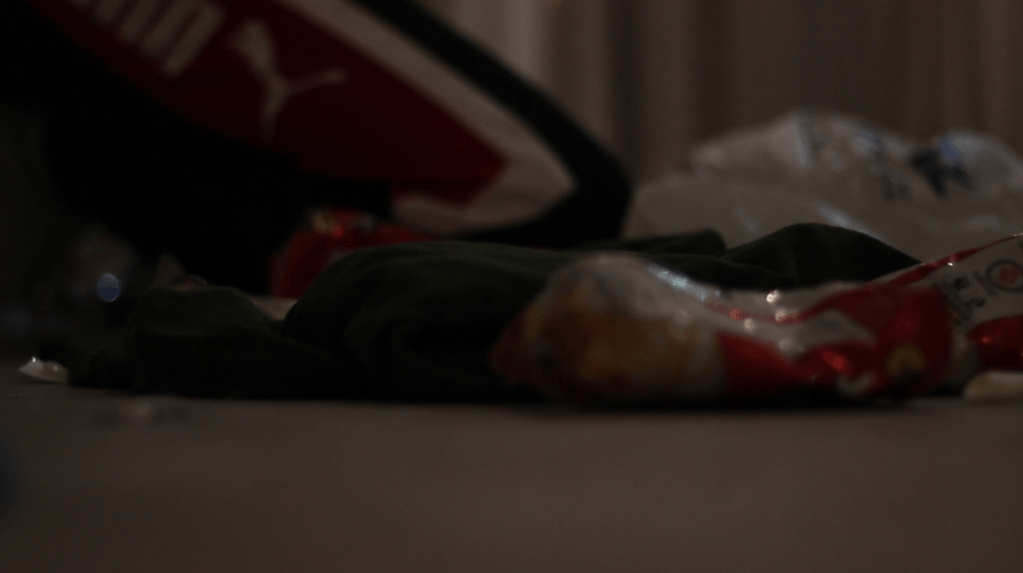
Tarawish and I went to Ashar’s place and with Ashar’s help, emptied the entire bag which had the props in it. First thing we did was, we emptied the entire bag of trash that I had got(which included food packets, drink cans, cigarette packs, cigarette ash) and we scattered it all around the room. We set the duvet as a bed for my character, in the corner of the room. We found a place for some alcohol bottles to keep, a cheap-CRT Television and a table where he would usually keep his entire drug material on. I set the table right in the center of the room because it had to be used in a 360 shot, where the character is doing all kinds of drugs and the camera roams around him in circles, which will be later sped up in post to give a timelapse look. Last thing we did was put on the posters we had got, on the wall. THIS IS WHAT MY SET LOOKED LIKE:
MAKEUP AND COSTUMES
I hold no proficiency in the field of make up art but I had to try my best. I had borrowed some foundation and eye shadow colours from my mother. I combined purple and blue eye shadows and applied them under my actor’s eyes. The foundation was used on his entire face so he looks good for the camera and his skin tones are evened out. For the costumes however, I chose to go simple. I gave him plain coloured tee-shirts and asked him to change it to a different one every few scenes later so the video looks like its a journey of a character and not a one-day story.
camera SETTINGS
I used pretty much the same settings throughout the shoot. Both my cameras(Sony a6000 and Canon 600D) were kept on 1/50th shutter speed and 24 frames per second. I changed the ISO according to the lighting situation. The canon was used only for close-ups and was set to f/1.8 aperture while my sony camera was set to 16 and 24 milimeters and f/3.5 and f/4.5 aperture throughout the shoot. For the GoPro, I kept it on flat coloured profile so it would be easy to colour grade the footage later on, and I set the resolution on 2.7k, 24fps, 1/50th shutter speed.
ACTING
Working with Tarawish was not easy. In a lot of takes, his inexperience in the acting field was clearly evident. We did not have time to rehearse since we had to get all the daylight shots in one day and time was running out. I just kept shooting more and more takes until I felt that one take was exactly how I needed. In some scenes, it was the very first take, and in the others, it was the 10th or 11th.
COVERAGE
I tried my best to have every shot taken from multiple angles just like how I noted down in my shot list. The usage of two cameras instead of one helped us a lot in this. The extra tripod also helped a lot. I placed the cameras simultaneously together in a way that they would not appear in the other camera’s shot, instead of taking seperate takes and working towards the right time with each shot for each camera angle.
I hid the other camera in such a way that it could look disguised as a part of the trash that is scattered all over the room.
The shot from the other angle. It is a close up.
These two were taken at the same time.
From one angle
Same shot from different angle, wide lens.
These two had to be shot in different takes since they would’ve faced each other if it was done together.
caMERA MOVEMENT
Something unexpected happen. I did not feel the need to use the steadicam at all during the shoot, due to the hassle of trying to balance it first according to the camera’s weight and then using it while holding a camera. Instead, I had an instant thought that I could just use handheld movement since shaky, uncontrollable movement would actually suit the story due to the topic’s theme.
LIGHTING
We worked with ambient lights as much as we could, and used the coloured light bulbs for the scenes in which I wanted to have a neon themed look. We waited for the sunset and then did the scenes with the coloured lights. However, there were some scenes where I wanted a normal light but since we didn’t have them after sunset, Ashar and I used our phones’ flashlights on brightest settings. I put some tissue paper on top of the lights to soften them. That is something I had to improvise on shoot.
BEHIND THE SCENES
During the 360-camera spin shot, ashar and I both moved together so he would not appear in the frame. This picture was before we shot that scene.
It’s very obvious that the shoot was really tiring. Approximately 9 hours long, with one more day to go. DAY 2 OF SHOOT IS TOMORROW! We will be doing the outdoor night scenes.
Now is the time to finally move to the main aspect of this project and pretty much any film or video i.e the shoot. I have finally completed the shot list, script, acquiring all the props, drawing out the storyboard. I will be shooting on the 10th of January, since its a friday. Tarawish, my actor, and I will be going to my house to pick up all the props, costumes and equipment, then head straight to Ashar’s place to shoot the indoor scenes today. I AM SO EXCITED!!
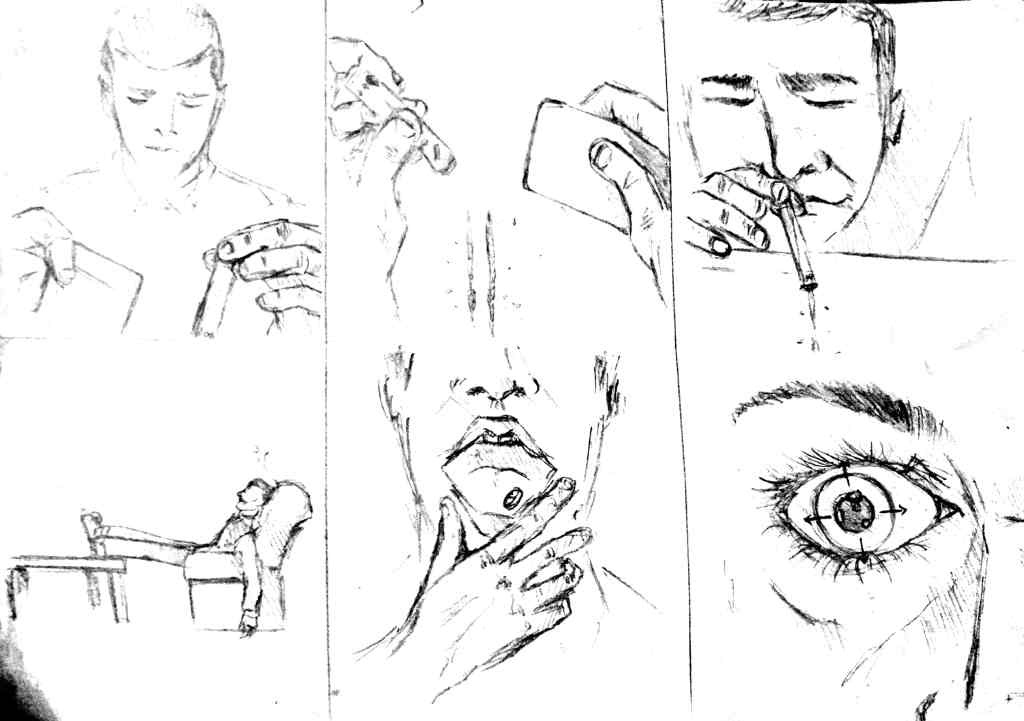
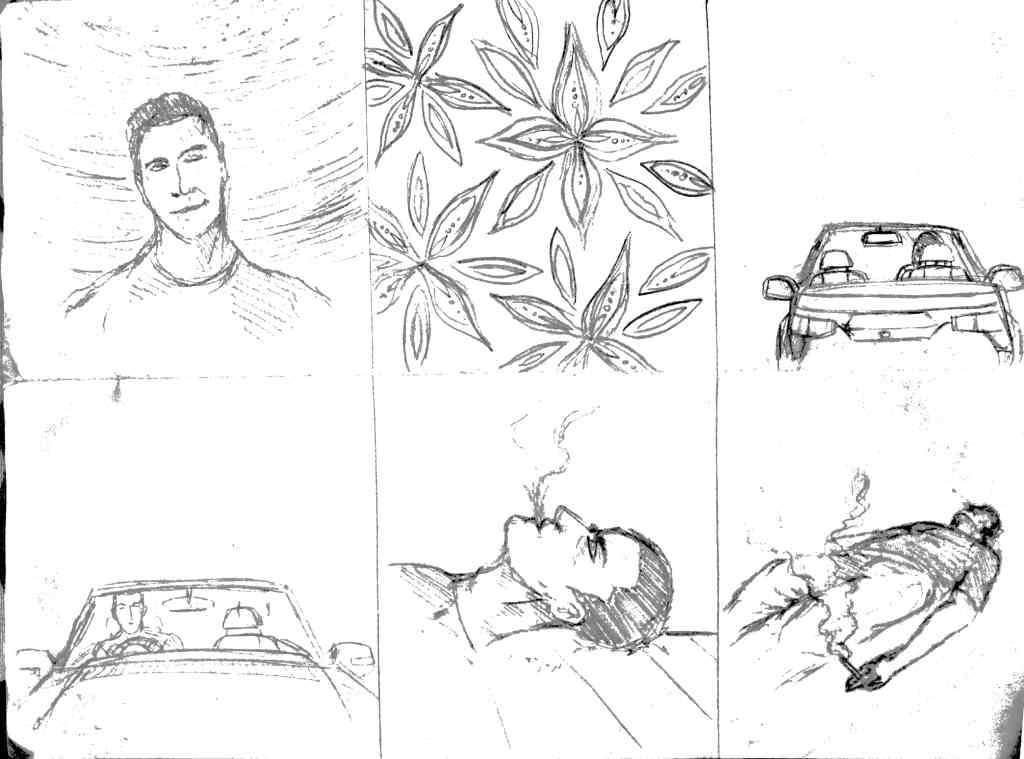
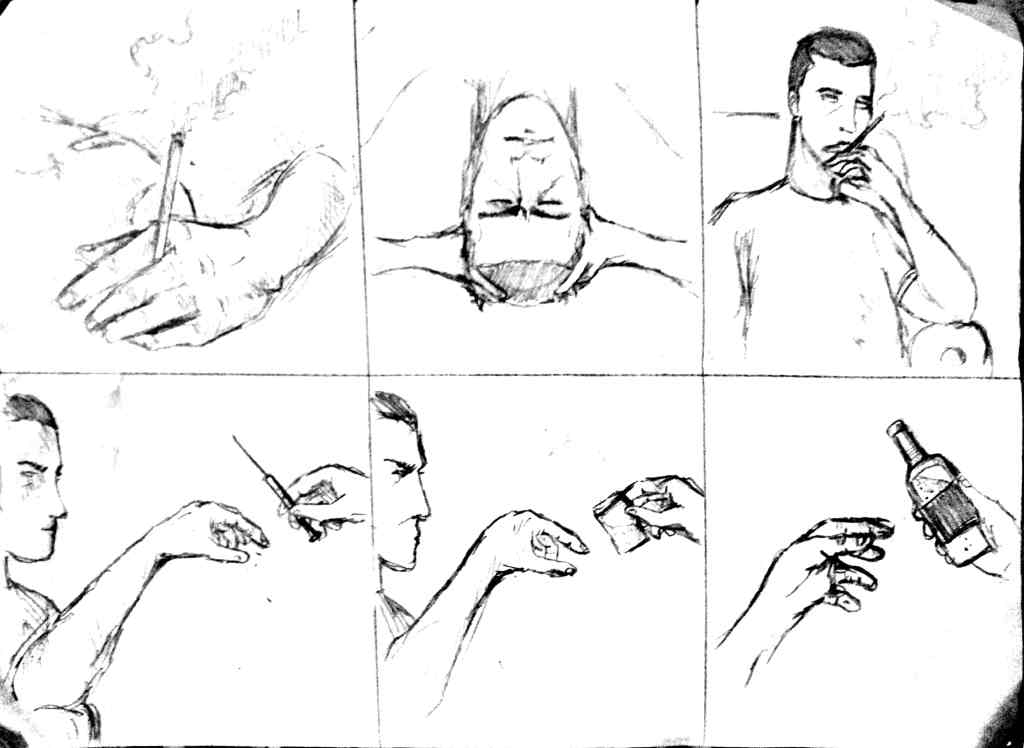
The next step in this process has to be the storyboard. I feel I will really need it and can not do without a storyboard since I am planning a lot of cuts and scenes in this music video and I can’t remember what exactly I planned for each shot. However, I will be storyboarding only some of the scenes, which I feel are absolutely necessary and technical and those I would need a storyboard for. This is because drawing/sketching is not my forte at all and it would take me a lot of time to draw even one frame, let alone 15 or 20 scenes. I will be updating this post as soon as I am done with the storyboard.
EDIT: 7TH JAN 2020
I am now done with my storyboard. Here it is:
I did not really feel the need to label these shots with scene numbers and such because it really does not matter what order I shoot them in. The order of these scenes will be decided during the editing by me. These are rough and only for my use. I can tell by looking at the scenes what it is trying to convey, so I did not write a description.
I believe set design is the second biggest aspect of storytelling in a particular film after the story/direction itself. I want to put huge focus on to my sets and want to make everything look as real as it can possibly get. I have listed down some specific props I will need to either buy or make myself, and I think this will be one of the most time consuming process for this project as there are a lot of things I will need to find in stores, make myself, and borrow from friends, for which I will need to ask my friends if they have what I am looking for.
Attached above are all the props I would need to carry out scenes realistically enough. I will now need to go look for these which will take a couple or more days. I hope this gets carried out as soon as possible. I am so excited to shoot.
Also, the examiner may notice that I have listed down wall posters of the movies that I also mentioned in my previous blog posts which explained how they inspired me to make this project, e.g Enter the void, requiem for a dream etc. I believe I will be paying a tribute to them by showing them in the video itself through the posters.
Additionally I want to clarify why I want to use guitars on my set. This is because, as I mentioned, I am making my protagonist a rock-star like character and it would not do the archetype justice if his room did not even have guitars lying around.
It’s time for a shot-list. I think, I need a shot-list in my project more than I even need a script, since I know that the type of editor I am, my final video will definitely look way different than what I have written in my script so far. I am sure I will be ending up changing the order for a lot of scenes, and I have that freedom since there is no lip sync involved in my video. I can pretty much sequence the scenes however I like in the final cut of the video.
A shot-list, however, is a need for sure, since I will be categorizing the indoor/outdoor, day/night shots in that list, so it would surely be easier on the shoot day and there are less chances of forgetting to shoot any scenes as I will be marking them on the shot-list when they are done. Attached below is my shot-list:
I recently learned that a music video script is not written in the traditional way like a short film or a feature film is written, which is in a screenplay format. A music video, on the other hand, is written using timestamps and lyrics of the song. The timestamps of a particular portion of a song are noted down, like “0:01-0:05” along with the lyric corresponding with that timestamp, and the scene is written according to that.
I have finally written the script. I have written it in a parallel-cutting style since I know at what timestamps I will be cutting, and there are mentions of the same scene multiple times throughout the video since i will be cutting and dividing them into portions for different parts of the song. The order of the shots might or might not change, that is something ill look into during editing. I used Microsoft excel to correspond the scene with the timestamps.